Well, I am finally getting back to finish the story about my son’s crashed radio controlled Edge 540. I need to explain what this project was all about and why my granddaughter was in on the repairing of this plane.
She is a senior in high school and needed a subject for a senior project. Since she is really into RC model airplanes, both building and flying them, she decided to do her project on rebuilding an airplane that was damaged and too valuable to just throw away. You will see her in some of the pictures shown in this post.
She did her fair share of the work, but got a little help from one of her uncles. He is an experienced builder and flier and it is his airplane that needed the work. All said and done it worked well for both of them. She got a good grade on her project (mainly because the judges could see that she was truly “into” her project), And Jeremy was motivated to dig out the wreckage and get the “Edge” ready for the Spring flying season.
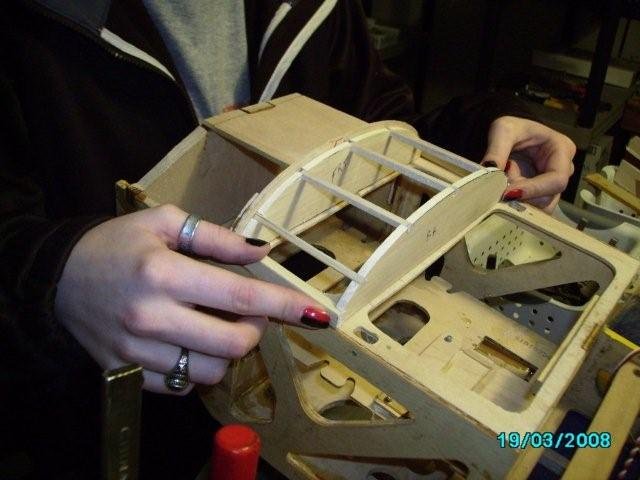
I included this photo to show you a close up view of the quality of work that went into this project and to give you an idea of the size of this aircraft. This is the top of the fuselage behind and below the back edge of the cowl. It is about 8 inches long and about 4 inches wide. The 8 inch direction is crosswise to the fuselage.

Splicing and insulating the wires used for the remote glow plug extension. The remote connection is used to avoid making a large unsightly hole in the cowl to access the glow plug connection. Here Kristen is heat shrinking the insulation on the splice.
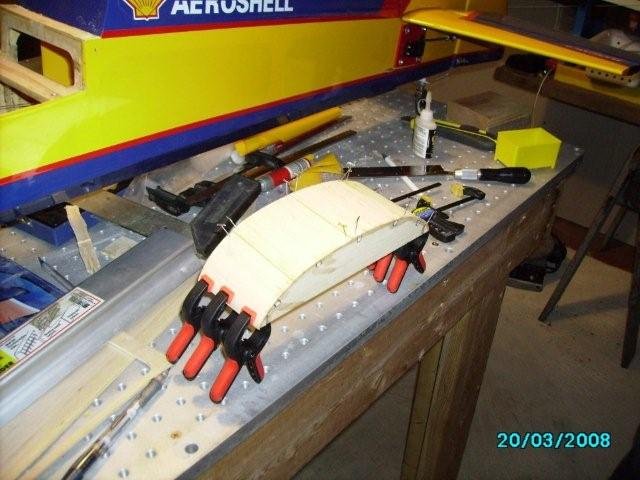
Repairing a crashed airplane is all about taking your time and paying attention to details. What you do at this point will affect the performance as well as the appearance of the plane. This picture shows test fitting the unsheeted frame of the cover. I could go on for hours about the fine details of rebuilding this plane, but I think by now you can tell that they did a good job of building up the damaged and missing parts.
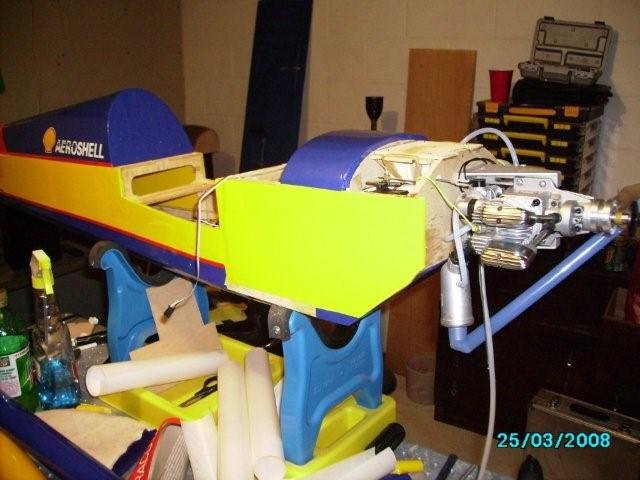
Here is another view of the reconstructed firewall and associated sub-structure. At this point the engine (Saito 4-cycle 1.80) is installed. Also you can see some of the fuel line tubing and the glow plug connection. The top piece of the fuselage that goes above the fuel tank is glued in place and covered with blue ultracote. We just keep getting closer and closer to being ready to fly. The next photos show what the “Edge” looks like after it is flight ready. This rc model aircraft is so large it is difficult to get a good picture in the shop that shows the whole plane in one shot. Remember this model has a wingspan of 78 inches and has a “full up” ready to fly weight of about 13 pounds.

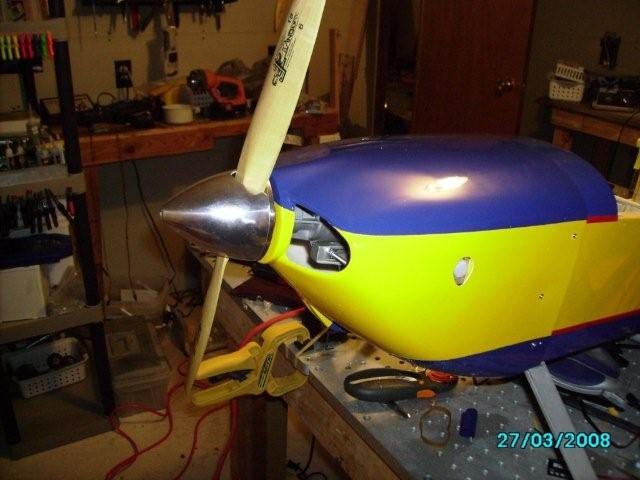
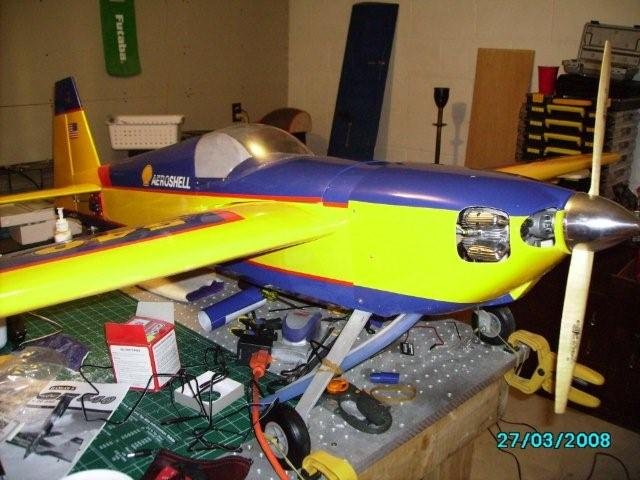
Below is a close up view of the nose of the repaired model. Another attempt to show you the size of the plane — that prop is 18 inches long and the spinner is 3 inches in diameter.
Still another view of the finished project.
There she is. All ready to go to the flying field. This has been an educational project and I know it was a lot of fun for her and Jeremy to work together on this awesome radio controlled model airplane.
Now, all we can do is to wait for good flying weather and I will be there for the takeoff with movie camera in hand. I hope to make a video of both Kristen and Jeremy flying the “Edge”. Stay tuned for the videos later in the Spring. Today, it is snowing hard enough to limit the visibility to one half mile… not good flying weather.
Keep coming back. There will be lots more activity on this blog when we finally get to the flying season. This is the OldManFlier and I’ll see you next time!